Here are some of the images from the shoot. In this post I will evaluate the images and explain how I processed them.
I used photoshop to edit the images. For most of the images, I have increased the contrast and used levels to exaggerate the shadows and highlights as I wanted quite a harsh and powerful result. Also, as the back wall wasn't lit, I could see some of the flaws in the wall such as small marks and cracks, so I used layers and layer masks. I would duplicate the background twice, use Gaussian blur on the middle layer and then on the top layer, create a layer mask. Then, I'd use the brush to paint over just the background, revealing the blurred background from the middle layer, being careful not to go over any of Paul. This gave a nice flawless background whilst keeping Paul crystal clear.

© Holly Bailey
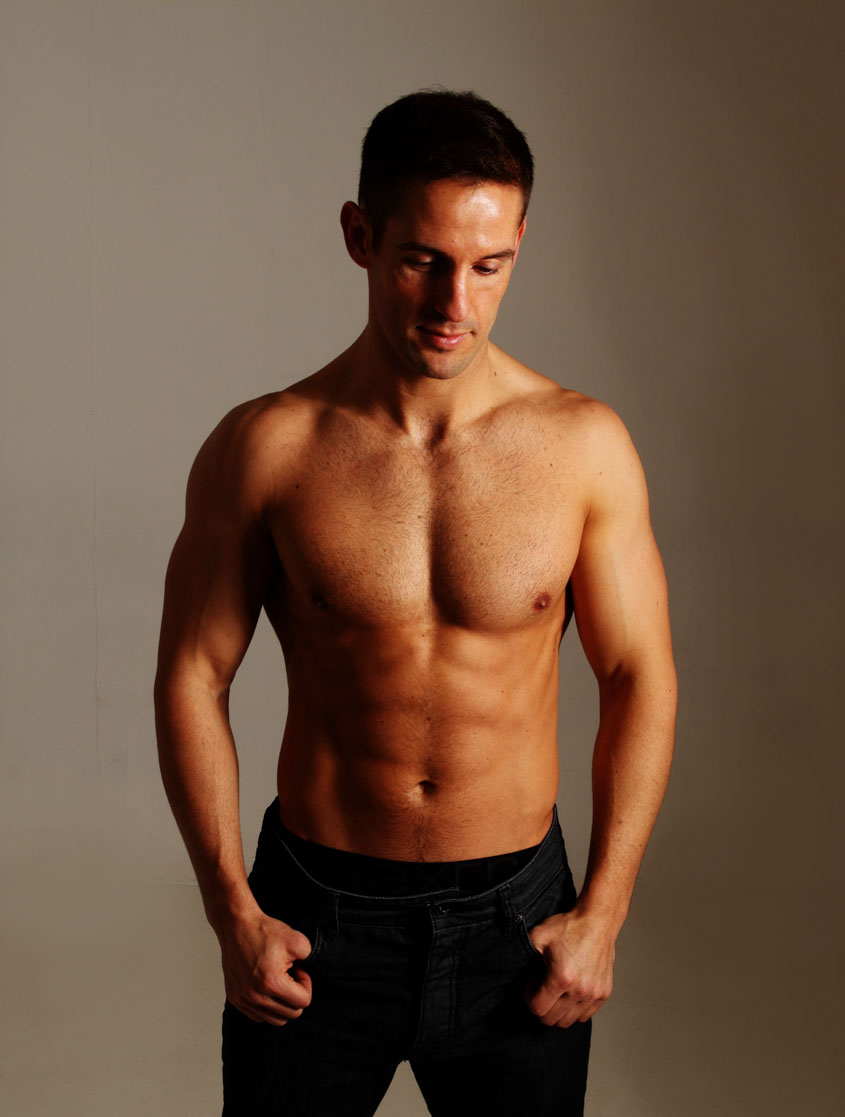
This is my favourite image from the shoot. This particular pose shows off lots of different muscles in his upper body. I like the contrast that has been created by the lights, however I did adjust the levels in photoshop to really exaggerate the shadows and highlights, creating lots more definition in his muscles. I took this shot head on and at eye level to create a kind of symmetry. I purposely didn't light the white wall as I wanted this grey looking background which makes him stand out more.

© Holly Bailey
I told Paul to bring along some weights to pump up before the shoot.....but also to use as a prop during the shoot. I directed him to face his back towards the main light and look down to his forearm. The beauty dish here is illuminating his back and creating shadows and definition on his flexing arm muscles. I did zoom the lens for this shot but I also cropped even further into the image at editing stage, as I wanted the main focus to be on his back and left arm.

© Holly Bailey
For this shot, I got him to sit on a step ladder and lean his crossed arms on a stool in front of him. You can clearly see the effects of the honey comb light at the back if you look at our left hand side of Paul. There is a slight highlight on the side of his face and on his shoulder.

© Holly Bailey
I used the stool for him to sit on and a step ladder for his left foot to rest on so he could rest his elbow on his raised leg and then rest his head on his hand. This pose gave some nice shapes and also shows his body from a different angle. Again, there is a nice highlight on his back due to the honeycomb at the back.

© Holly Bailey
This pose shows the muscles in his back and also on his arm. At this point, I turned off the honeycomb light and just used the main light with the beauty dish. This gave a shadow at one side of him, creating more of a contrast between him and the background.

© Holly Bailey
Again, I have tweaked the levels a little bit more for this one to really exaggerate the definition. There are some strong shadows on the left side, which show the contours of his muscles.

© Holly Bailey
For this one, I intended to pose him so that we could see his triceps and the muscles above his ribs (obliques). I told him to pretend his is rubbing his right shoulder with his left hand and then hold his elbow......it looked quite un-natural as he grabbed his elbow to firmly but I wanted it to look quite relaxed and natural (he has never modelled before!). So to try and get more of a natural look, I told him to touch his elbow after the count of 3 and then I would take the picture. This looked a lot better so I am pleased with the image now.

© Holly Bailey

© Holly Bailey
I wanted to focus on his back for this shot. I cropped in closer so that his back fills most of the frame, cropping off part of his head and more of the bottom of the image.

© Holly Bailey
I asked Paul to bring along a black t-shirt to use as a prop. I asked him to hold it in certain ways that showed off his arm muscles.

© Holly Bailey

© Holly Bailey
I think I went over board with the levels and contrast in this image as detail at the bottom of the image is totally gone and is too dark. I do like the top half of the image though. I like this one because of his natural expression.

© Holly Bailey

© Holly Bailey
© Holly Bailey
Looking at this one, I should have cropped a little bit more from the top of the image as it doesn't look very balanced. It looks like he is slipping down the frame.

© Holly Bailey
Holly, this is another excellent posting, your clear ad quite concise descriptions show a high level of competence. You have structured the blog well giving the impression that you are very confident both in shooting and post production. On top of that you have your normal high standard of photography.
ReplyDelete